PlutoT6 server set-up guide.
-
Requirements:
A PC to host the server, running either Windows 10 or Windows Server 2019.
An Internet connection (where you can portforward if you are behind a NAT).
T6 on said server. (You don’t need the video & sound folders, the .ipak files nor the SP level files, this can save you a LOT of disk space.)
A Plutonium forum account
Notepad++
A brain.In this tutorial I will assume that you have installed T6 to
C:\gameserverand the folder for the game is calledt6_pluto. You are free to change those paths to whatever suits you best.
All paths beginning with./useC:\gameserver\t6_plutoas their base.1 Preperation
1.1 Downloading and installing Plutonium:
- Download the Plutonium Launcher.
- Place it to
C:\gameserver - Download !updatePluto.bat and place it next to the launcher.
- Run !updatePluto.bat and let it download Plutonium
1.2 Creating a server key.
- Open the Plutonium Server Key page
- Fill in the name of the server and select the correct game.
- Click on create, then copy the server key.
We will later have to paste it into a bat file.
1.3 Deleting unneeded files (Optional)
This is ONLY for people that only want to host a server from their T6 install and not to play with it. This guide only shows how to delete files that are not needed by mp or zm. If you wish to save more space by not hosting mp or zm you can delete all left over files with mp or zm in their name.
As you can see we are starting with the worst case: MP, SP and ZM with PlutoT6 and multiple languages through Steam installed.
:::

:::
We don’t need the
main,players,soundorvideofolders. We only needbinkw32.dll,localization_mp.txt,localization_zm.txt
:::
:::
Now we take care of the zone folder, as you can see we have 3 languages installed.
We are going to delete all but the English one, keep the all folder as all languages require it.
:::
:::
Now navigate to the all folder inside zone. There are plenty of large files that we don’t need. All
.ipakfiles and all sp files can be deleted safely. Only files withmpandzmshould be left in this folder.
:::
:::
Now to the english folder inside zone. Here we do the same thing as in the last folder.
:::
:::
1.4 Enabling transparent compression
This step is useful if you choose to enable game logs as it will save up to a GB per server.
- Open the properties of your ./t6r/data folder
- Click on
Advanced... - Check the
Compress contents to save disk spacebox - Press OK
- Press Apply
- Choose
Apply changes to this folder, subfolders and files - Press OK
:::

:::
2. Basic configuration and the first start
:::

:::
- Open the cfg in Notepad++.
- Edit the file to your liking.
- Download the bat files from GitHub and put them into
C:\gameserver\t6_pluto- Open them with Notepad++ and paste your server key. Optionally change the other variables on top.
- For ZM download the full repository and extract the folder to ./t6r/data/
:::


:::
- Double click the bat file.
- Wait for the server to finish loading.
:::

:::
3. (Optional) Advanced configuration
Every instruction in this section needs additional config files please grab them from here.
3.1 Custom settings (MP only)
- Open the CFG of the game mode you want to edit (eg
tdm.cfg) in the ./main/gamesettings folder. - Uncomment and edit the values of the settings you want to change.
- Save the file.
- Put
exec <game type here>.cfgin front of the firstmaptoken in the map rotation.
For examplesv_maprotation "exec tdm.cfg map mp_la map mp_dockside map mp_carrier"
3.2 Enabling the hard core mode (MP only)
- Either copy or open the game mode specific .cfg file for the game mode you wish to play with hard core settings.
- Open tdm.cfg and copy the hard core settings of it to the file from the first step.
- Save the file.
- Put
exec <cfg from step 1>.cfgin front of the firstmaptoken in the map rotation.
For examplesv_maprotation "exec hctdm.cfg map mp_la map mp_dockside map mp_carrier"
3.3 Mixed game modes with correct / custom settings (MP only)
- Open the server cfg file with Notepad++
- Put a
exec <game type here>.cfg(eg.exec dom.cfg) in front of a map token.
For examplesv_maprotation "exec dom.cfg map mp_la map mp_dockside exec sas.cfg map mp_carrier"- You can have one exec token in front of multiple map tokens to apply your settings for each following map.
- You can have a different exec token in front of every single map token to have different settings for each map.
4. (Optional) Install a server management tool
For any administration tool you need to enable the game log and to set a rcon password in the server config, for your own safety use a long and safe (generated) password you will never have to remember this password! And make sure to enable the game log with
g_log. You should only install one of those 2 tools.
:::
:::
4.1 Adding IW4m-Admin to your server
- Download IW4m-Admin from RaidMax’s website.
- Follow his guide on GitHub.
5. (Optional) Hosting a second server from the same directory.
- Make a copy of the bat file and the cfg file and rename them.
- Edit the copy of the bat file to have a different port and to use your second cfg.
(You must forward the second port as well if you are behind a DNAT!) - Edit the .cfg file.
- Start the server through the new .bat file.
FAQ
Q: You said we can delete game files to save disk space, is it worth it?
A:In my opinion it is, the files to host MP and ZM servers from the same folder with all maps and modes require roughly 1.7GB instead of 22GB and HIGHLY speeds up loading times as unnecessary files are not loaded.Q: So which files can we safely delete?
A:You can safely delete the main, players, redist, sound and video folders. Inside the zone folder you can delete all sp, rts and .ipak files. If you don't want to host MP/ZM you can delete the MP/ZM files too.Q: Why can’t I find my server hosted at home while others can?
A:Your router probably doesn't support NAT-Loopback (aka. NAT-Reflection) and that's why it doesn't know how to forward the network traffic.In order to connect it use your internal IP or 127.0.0.1 if its hosted on the same machine. More information about what NAT-Loopback is and how it works can be found on Wikipedia.Q: Why does everyone get an time out during a map change?
A:We are not entirely sure but it seems to be related to certain dvars not being set to their default value.Only known dvar to cause this atm isparty_maxplayers.This post is also available over at awog.at.
-
Changelog:
23.06.2019: Started to add screenshots.
26.06.2019: Added more screenshots, basic set-up and preparation for a RCon tool is now covered.
17.09.2019: Changed the link of the IW4m-Admin documentation to the master branch. -
is there anyway to do custom commands? like when you type a command in console from in game like “cmd (command)” and make it execute?
-
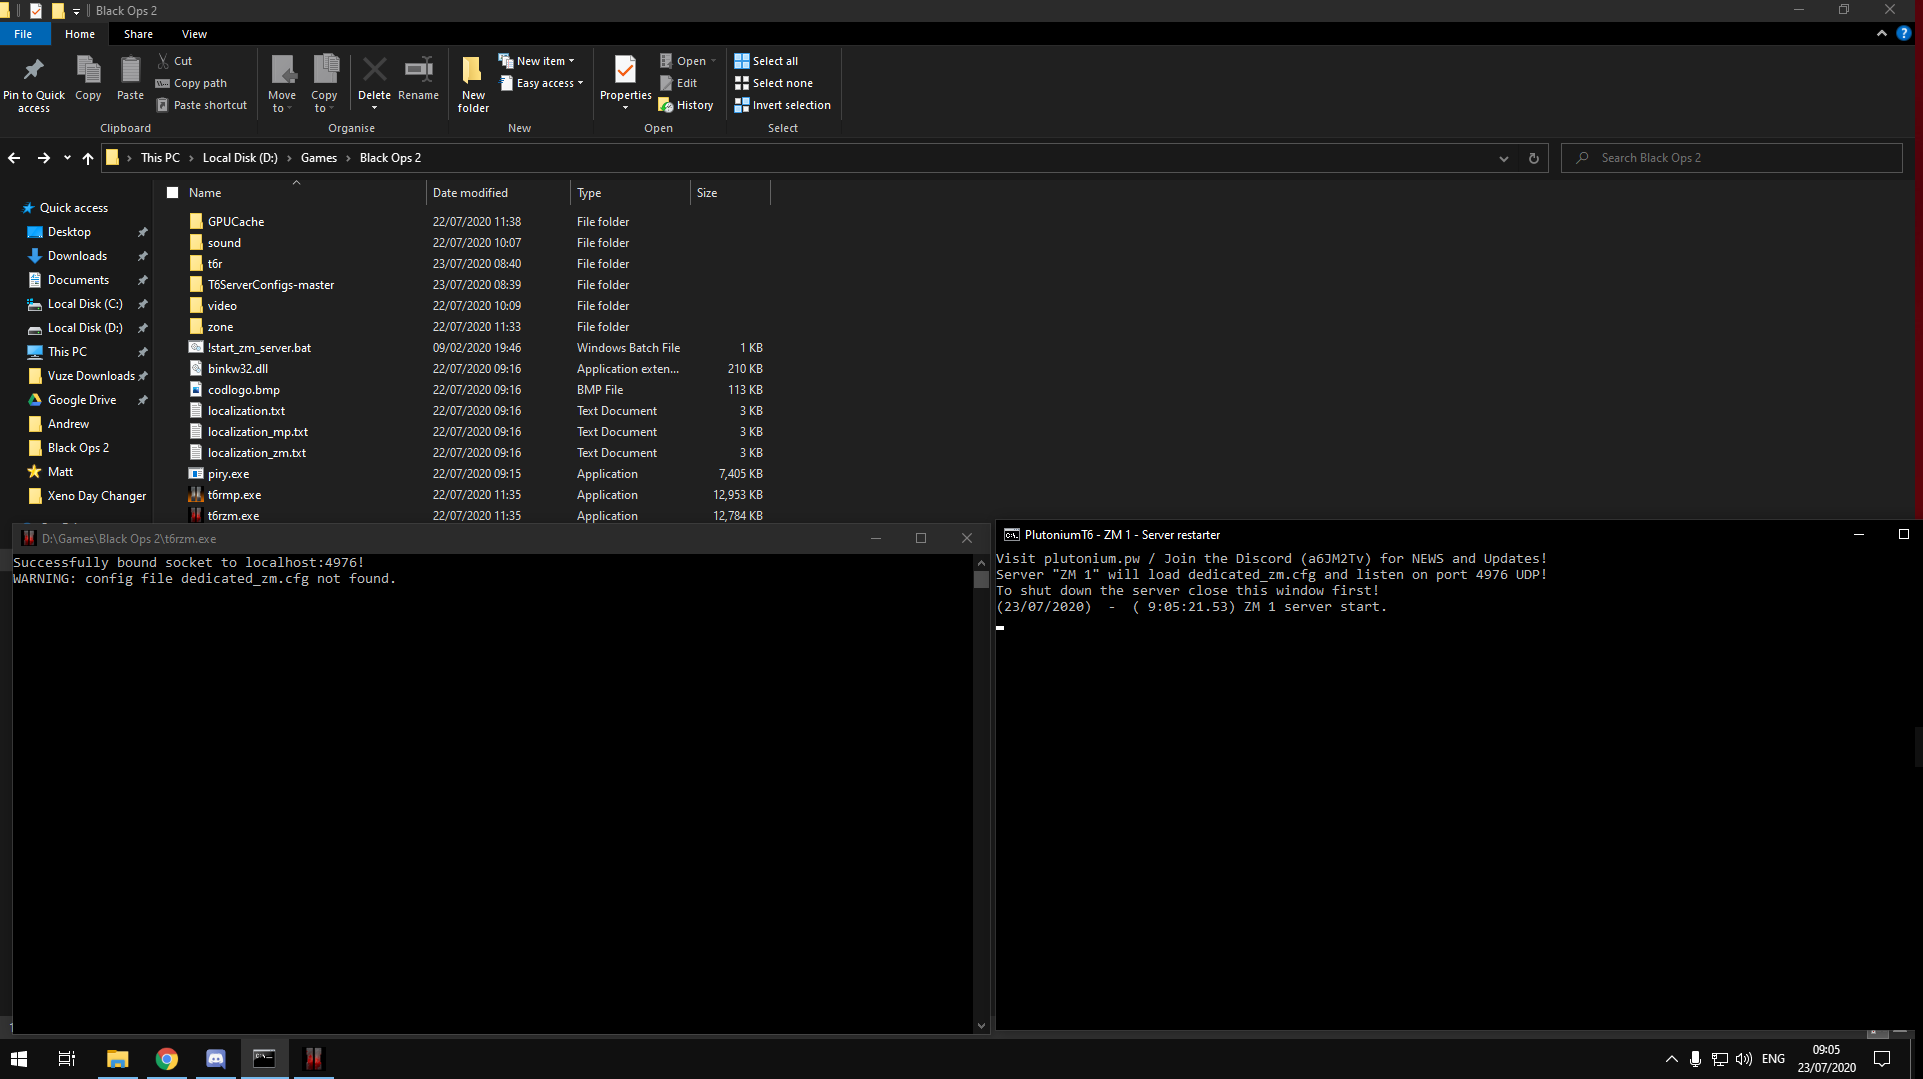
When i try running the server i get an error message on the console.

-
Hi,
its a warning not a error message. To get rid of it read the tutorial more careful and repeat step 2. -
@Xerxes The folder that we had to download from github in step (T6ServerConfigs-master). In which folder do I put this in?
-
It is cleary described in the guide where you have to put that file in relation to the executable.
-
@Xerxes So in the t6r/data ?
-
I don’t have a good feeling with you hosting a public server this is why I won’t help you any further or even spoonfeed you. Maybe just sticking just to custom games is more in your skill domain.
-
@Xerxes I don’t know if u to lazy, dumb or you don’t know how to help me. But i know one thing for sure your guide suck.
-
@CraftingtableCat said in PlutoT6 server set-up guide.:
@Xerxes I don’t know if u to lazy, dumb or you don’t know how to help me. But i know one thing for sure your guide suck.
The only dumb one here is you, mate
-
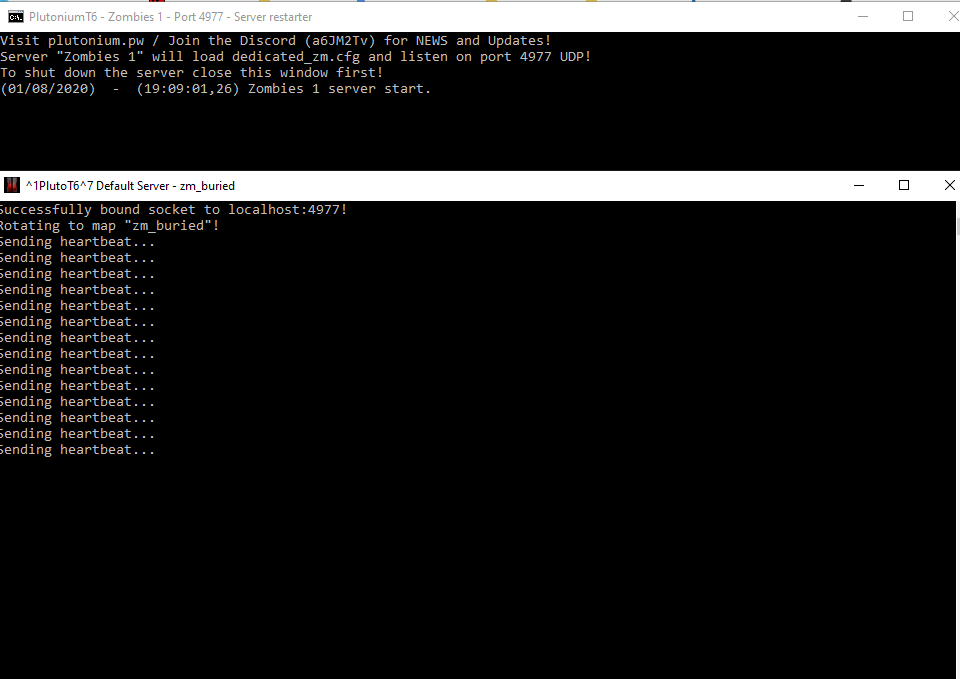
 someone help me ? I can’t get over it
 -
There is no error.
-
but my server does not appear for anyone
-
This is an issue with your network and very far outside of the scope of this guide.
-
@suco did you find the solution?
I’m facing the same problem -
@CraftingtableCat You need to place “dedicated_zm.cfg” into the /T6r/Data folder. I know this is kind of late but Idk why the author of this guide even wrote the guide if he doesn’t intend to help anyone.
-
@blueq said in PlutoT6 server set-up guide.:
Idk why the author of this guide even wrote the guide if he doesn’t intend to help anyone.
There is a difference between helping and spoon feeding, I don’t do the later.
-
This post is deleted! -
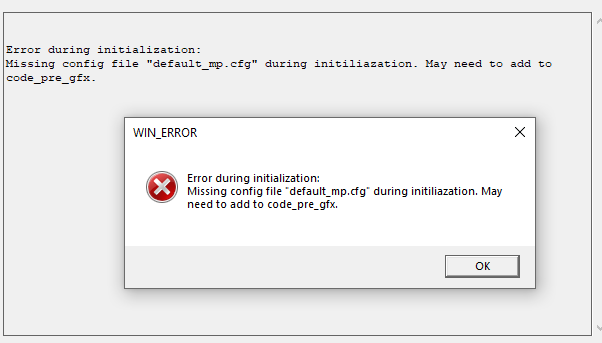
I’ve placed all files into the t6r folder and I’m not sure where to go from here. I have placed the blinkw32 dll in there along with these files.

I get this error and I’m not sure how to fix this. Any help, if at all possible, is very appreciated